WiseCleaner Think Tank

Encounter difficult computer problems?
All about maintenance and optimization of your Windows System.

Home > Think Tank > How to Disable the Screen Saver in Windows

How to Disable the Screen Saver in Windows

Sep 6, 2024

Screen savers were originally a popular way designed to prevent burn-in on older monitors. On modern computers, especially those running Windows 11, screen savers are not that necessary.

Should I disable the screen saver

On Windows 10 or 11, disabling the screen saver can be beneficial, as it usually causes Windows to lock itself automatically. If you neither use the mouse nor the keyboard for a period of time, the system will enter the screen saver mode, which could bring trouble for the normal use. Furthermore, running a screen saver will not keep your PC safe either, instead you should consider turning off the screen or putting your PC to sleep after a period of inactivity if you are worried about security or want to save energy.

If you are among those who want to disable the screen saver on your Windows PC, this WiseCleaner post is a step-by-step guide to help you do that.

Methods to disable the screen saver

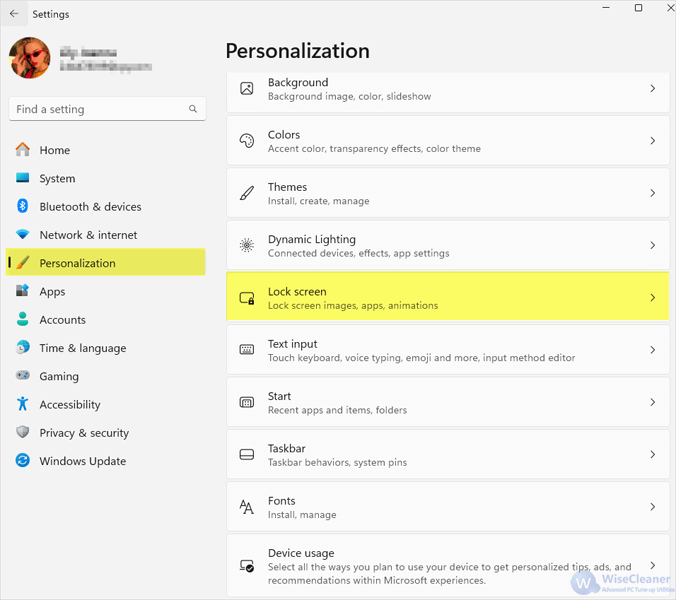
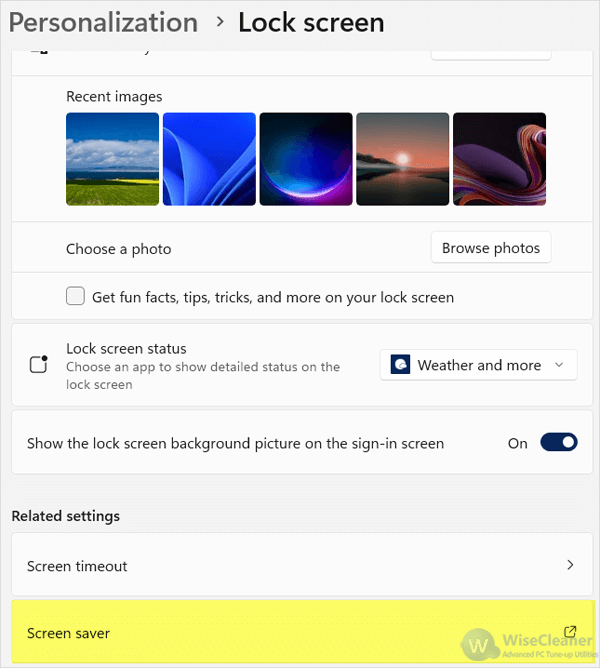
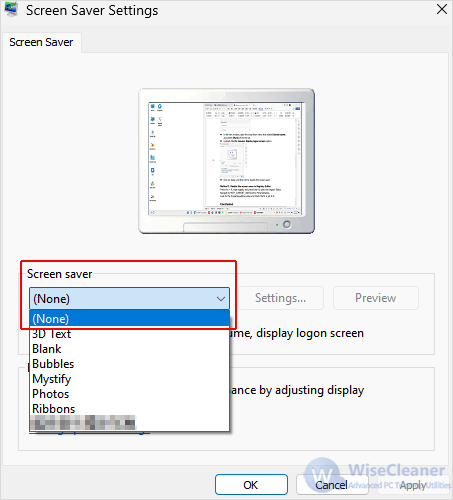
Disabling the screen saver is a straightforward process. Either of the two methods below can help you disable it on your Windows 11:

Method 1 Disable the screen saver through Settings

  • To begin, you will need to open the Setting app by directly pressing the Windows + I key on your keyboard.
  • In the Settings window, find and click on Personalization from the left sidebar to customize the appearance of your Windows environment.
  • From the options on the right, select Lock screen.
  • On the Lock screen settings page, scroll down to the bottom, then you will see the Screen saver option. Click on it to open the link of the Screen Saver Settings.
  • In the new window, open the drop-down menu that labeled Screen saver, and select (None) from the list.
  • Uncheck the On resume, display logon screen option.
  • Click on Apply, and then OK to disable the screen saver.

Method 2. Disable the screen saver in Registry Editor

  • To open the Registry Editor, press the Windows + R key on your keyboard, and enter regedit in the box field.
  • In the Registry Editor window, navigate to HKEY_CURRENT_USER\Control Panel\Desktop.
  • From the right pane, find and double-click on the ScreenSaveActive key and set its Value data to 0.
  • Click on OK to disable the screen saver.

Conclusion

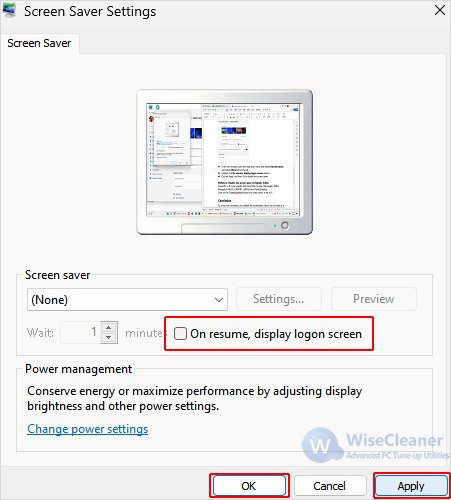
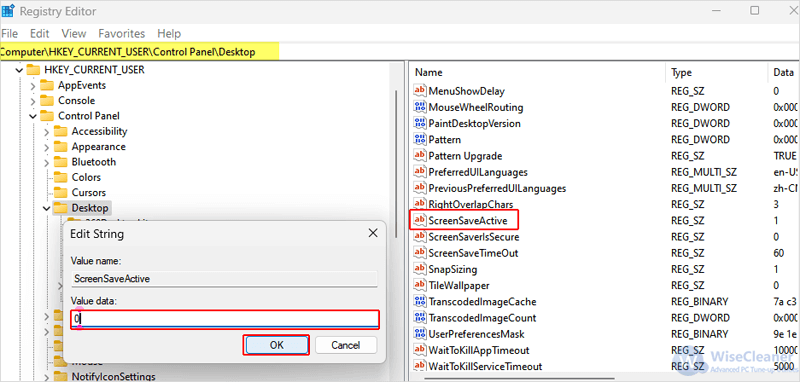
By changing your Windows Settings or by editing the Registry introduced in this WiseCleaner Think Tank , you can simply disable the screen saver and avoid interruptions on your Windows PC.

Latest
Understanding Windows Power Plans: Balanced, Battery Saver, High Performance, and Ultimate Performance10 Hidden iPhone Features and Tricks You May Not Know About How to Install ADMX and ADML for Microsoft Edge Group Policy Management
Read more >>
Recommend
Understanding Windows Power Plans: Balanced, Battery Saver, High Performance, and Ultimate PerformanceWindows Update Delivery Optimization: How It Works & How to Disable It (2025 Guide)Should I enable or disable Trim of SSD?
Read more >>
Hottest
How to Install a macOS in VMware Workstation PRO 17How to Enable Task Manager Option in Taskbar Menu on Windows 11How to Fix Office Application Error 0xc0000142
Read more >>