WiseCleaner Think Tank
Encounter difficult computer problems?
All about maintenance and optimization of your Windows System.
Dec 20, 2023
A local network printer is a printer that is connected to a computer or network router via cable or Wi-Fi. It allows you to print from any computer on the same network, as long as the printer is online and shared. Sharing a printer over a local network increases productivity by allowing multiple users to send print jobs simultaneously.
This guide will show you how to share a printer on your local network.
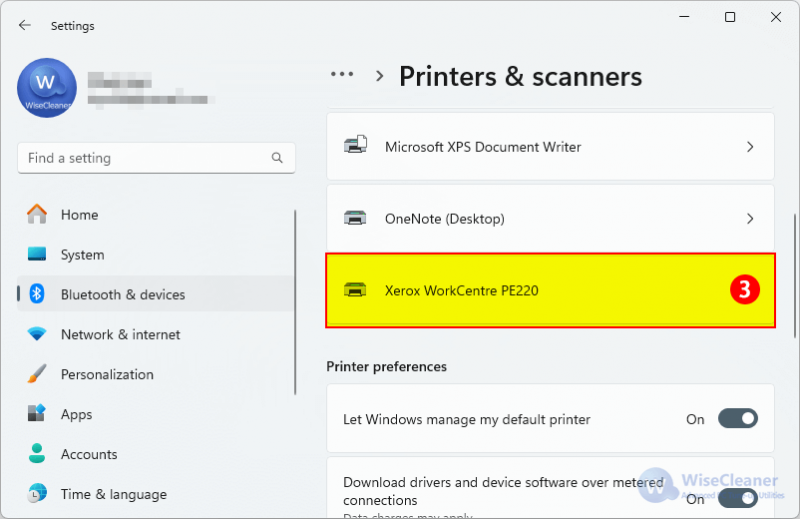
Press Win + i to open the Windows Settings. Then click on Bluetooth & devices in the left pane, and select Printers & scanners in the right column.

Select the printer you want to share.
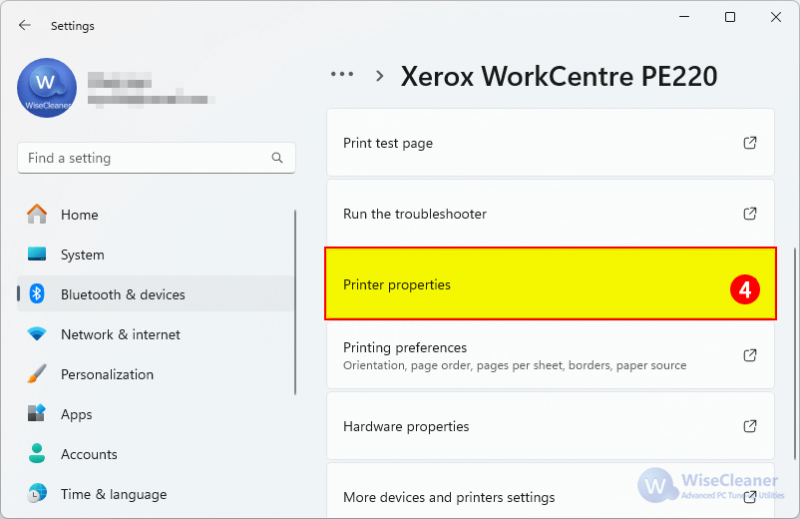
Then select the Printer properties tab on the next page.
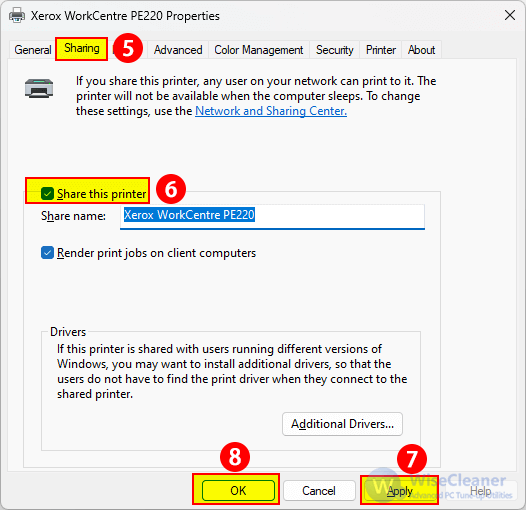
Select the Sharing tab in the new window that appears. Then click Share this printer. You can name the shared printer to facilitate other devices to connect. Finally, click Apply and OK to close the window.
Before you start connecting to a shared printer, please make sure that your computer and the primary computer are in the same LAN.
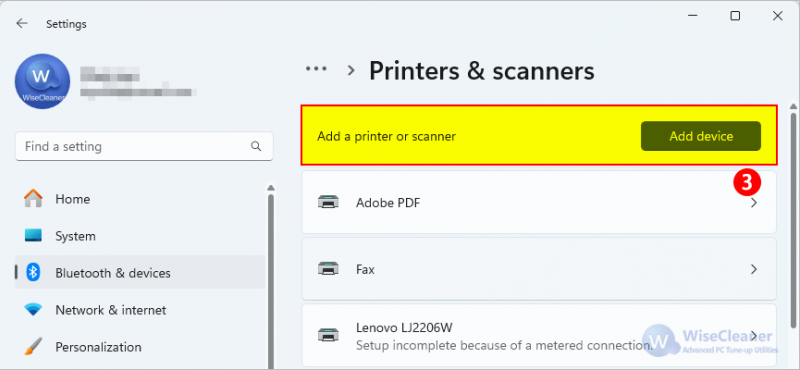
Press Win + i to open the Windows Settings. Click on Bluetooth & devices in the left pane, and select Printers & scanners in the right column.
Next, click on the Add device button.
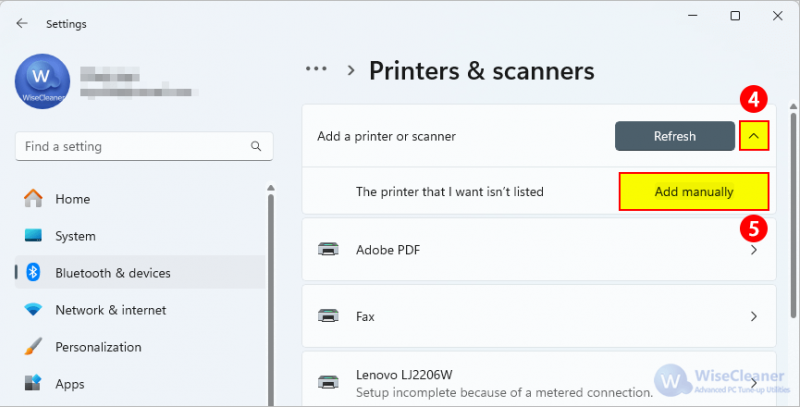
If you don’t see the printer you want, click on the drop-down icon after the Refresh button, then click Add manually next to "The printer that I want isn’t listed".
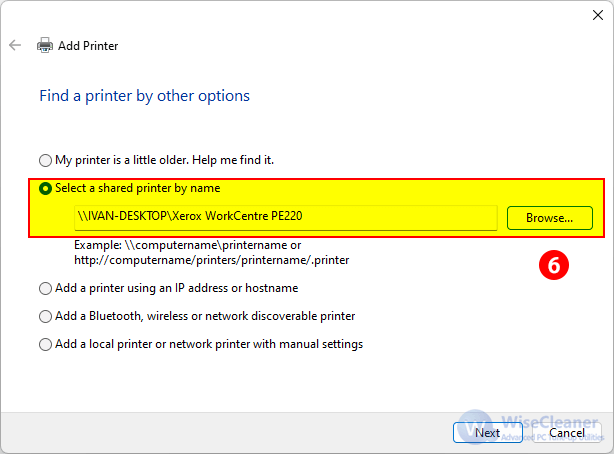
Check the Select a shared printer by name option, and then enter the computer or device name of the primary PC and the share name of the printer using one of these formats:
\computername\printername
http://computername/printername/.printer
If you don't know them, please click the Browser button, find the primary computer in the Network, and select the shared printer. Then click the Next button.
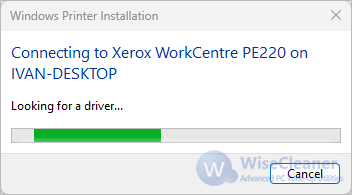
Windows will try to connect to the printer, and if you have not installed the driver for the printer, the system will automatically search for and install the driver with your consent.
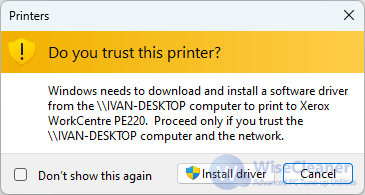
After the installation is complete, click the Next button, and click Finish.

With the above steps, you can connect all the computers in your local network to the same printer, simplifying the workflow and increasing efficiency. If you have other computer-related questions, you can visit WiseCleaner to learn more.
wisecleaner uses cookies to improve content and ensure you get the best experience on our website. Continue to browse our website agreeing to our privacy policy.
I Accept


